Το καλάθι αγορών είναι άδειο!
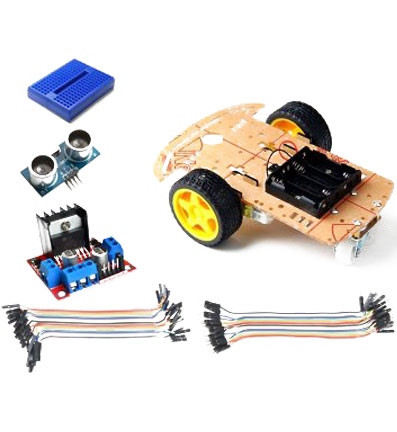
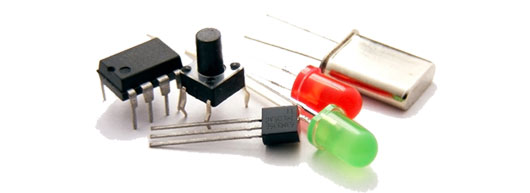
Τα υλικά που θα χρειαστούμε:
2x DC κινητήρες
1x Arduino Uno R3 (ή όποια έκδοση έχετε)
ΣΥΝΔΕΣΜΟΛΟΓΙΑ
//L298N
//Motor A
const int motorPin1 = 9;
const int motorPin2 = 10;
//Motor B
const int motorPin3 = 6;
const int motorPin4 = 5;
//This will run only one time
void setup()
{
//Set pins as outputs
pinMode(motorPin1, OUTPUT);
pinMode(motorPin2, OUTPUT);
pinMode(motorPin3, OUTPUT);
pinMode(motorPin4, OUTPUT);
}
void loop()
{
//Motor Control - Motor A: motorPin1,motorpin2 & Motor B: motorpin3,motorpin4
//This code will turn Motor A and MOTOR B goes forwward
digitalWrite(motorPin1,HIGH);
digitalWrite(motorPin2, LOWW);
digitalWrite(motorPin3, HIGH);
digitalWrite(motorPin4, LOW);
delay(5000);
//This code will turn Motor A and MOTOR B goes backward
digitalWrite(motorPin1,LOW);
digitalWrite(motorPin2, HIGH);
digitalWrite(motorPin3, LOW);
digitalWrite(motorPin4, HIGH);
delay(5000);
//This code will turn vehicle in one direction
digitalWrite(motorPin1,HIGH);
digitalWrite(motorPin2, LOW);
digitalWrite(motorPin3, LOW);
digitalWrite(motorPin4, LOW);
delay(5000);
//This code will turn vehicle in other direction
digitalWrite(motorPin1,LOW);
digitalWrite(motorPin2, LOW);
digitalWrite(motorPin3, HIGH);
digitalWrite(motorPin4, LOW);
delay(5000);
//And this code will stop motors
digitalWrite(motorPin1,LOW);
digitalWrite(motorPin2, LOW);
digitalWrite(motorPin3, LOW);
digitalWrite(motorPin4, LOW);
}
NOTE: Modify your vehicle's moves due to your project's needs.
Your email address cannot be published. Required fields are marked*
© 2019 - electrobot.gr | Κατασκευή e-shop - istogram.com