Το καλάθι αγορών είναι άδειο!
Σε αυτό το tutorial θα δούμε πως μπορούμε να συνδέσουμε σχετικά εύκολα μια οθόνη LCD με το Arduino.
Στην προκειμένη περίπτωση η οθόνη μας έχει ήδη κολλημένο το module επικοινωνίας.
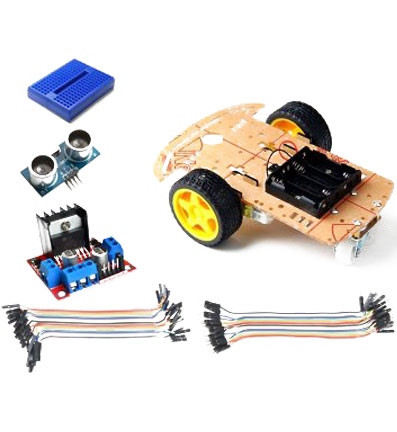
Τα υλικά που θα χρειαστούμε:
1x Arduino Uno R3 (ή όποια έκδοση έχετε)
ΣΥΝΔΕΣΗ:
| I2C Character LCD | Arduino |
| GND | GND |
| VCC | 5V |
| SDA | A4 |
| SDL | A5 |
Αφού κάνετε τις συνδέσεις, ίσως χρειαστεί να προσαρμόσετε την αντίθεση της οθόνης. Αυτό γίνεται από το ποτενσιόμετρο που έχει το module.
Στην συνέχεια κατεβάζουμε την βιβλιοθήκη που χρειάζεται η οθόνη από ΕΔΩ.
Στην συνέχεια την εγκαθιστούμε χειροκίνητα στο φάκελο του Arduino, όπου βρίσκονται οι βιβλιοθήκες.
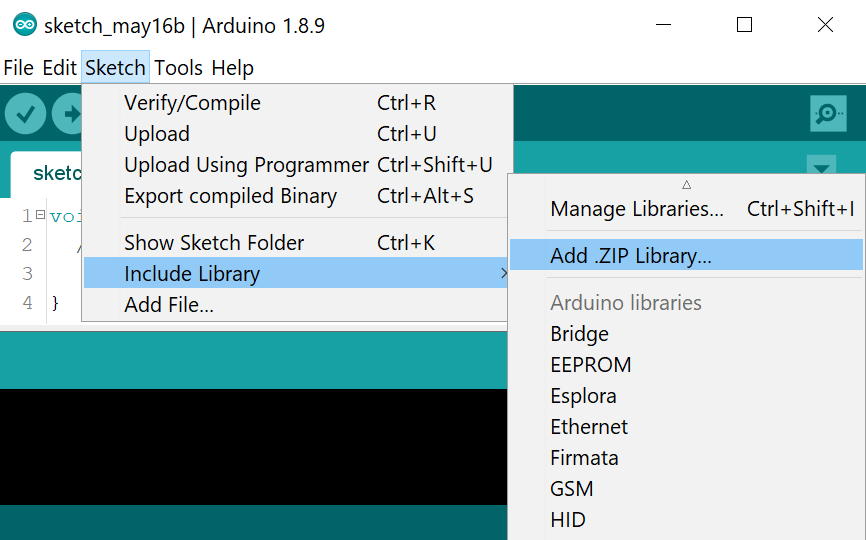
Ή το κάνουμε με τον παρακάτω τρόπο, SKETCH-Include Library-Add .ZIP library
Η βιβλιοθήκη περιέχει και κάποια παραδείγματα που ίσως σας φανούν χρήσιμα. Αφου εγκαταστήσουμε την βιβλιοθήκη, θα χρειαστεί να βρούμε την διεύθυνση της οθόνης μας, το οποίο θα μας χρειαστεί στον κώδικα.
Η διεύθυνση συνήθως είναι 0x27.
Συην συνέχεια ανοίγουμε το Serial Monitor (Ctrl + Shift + M) και σημειώνουμε την διεύθυνση.
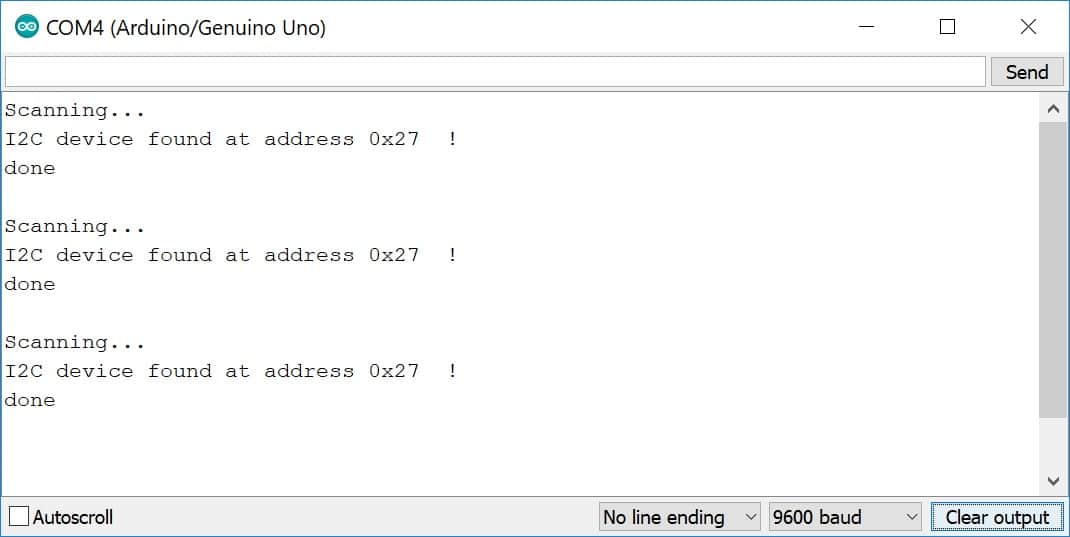
Σημειώνουμε την διεύθυνση και γράφουμε τον κώδικα μας.
ΚΩΔΙΚΑΣ
/* I2C LCD with Arduino example code.
// Συμπεριλάβετε τις βιβλιοθήκες
#include <Wire.h> // βιβλιοθήκη για I2C επικοινωνία
#include <LiquidCrystal_I2C.h> // βιβλιοθήκη για LCD
// Wiring: SDA pin is connected to A4 and SCL pin to A5.
// Connect to LCD via I2C, default address 0x27 (A0-A2 not jumpered)
LiquidCrystal_I2C lcd = LiquidCrystal_I2C(0x27, 20, 4); // Change to (0x27,16,2) for 16x2 LCD.
void setup() {
// Initiate the LCD:
lcd.init();
lcd.backlight();
}
void loop() {
// Print 'Hello World!' on the first line of the LCD:
lcd.setCursor(0, 0); // Set the cursor on the first column and first row.
lcd.print("Hello World!"); // Print the string "Hello World!"
lcd.setCursor(2, 1); //Set the cursor on the third column and the second row (counting starts at 0!).
lcd.print("LCD tutorial");
}
Αυτό είναι ένα βασικό παράδειγμα για να εμφανίσετε το πρώτο σας μήνυμα στην οθόνη.
Μπορείτε να πειραματιστείτε, να εμφανίσετε ειδικά σύμβολα, να κάνετε το μήνυμα να κινείται και πολλά άλλα.
Στείλτε μας πιθανόν απορίες σας.
Your email address cannot be published. Required fields are marked*
© 2019 - electrobot.gr | Κατασκευή e-shop - istogram.com